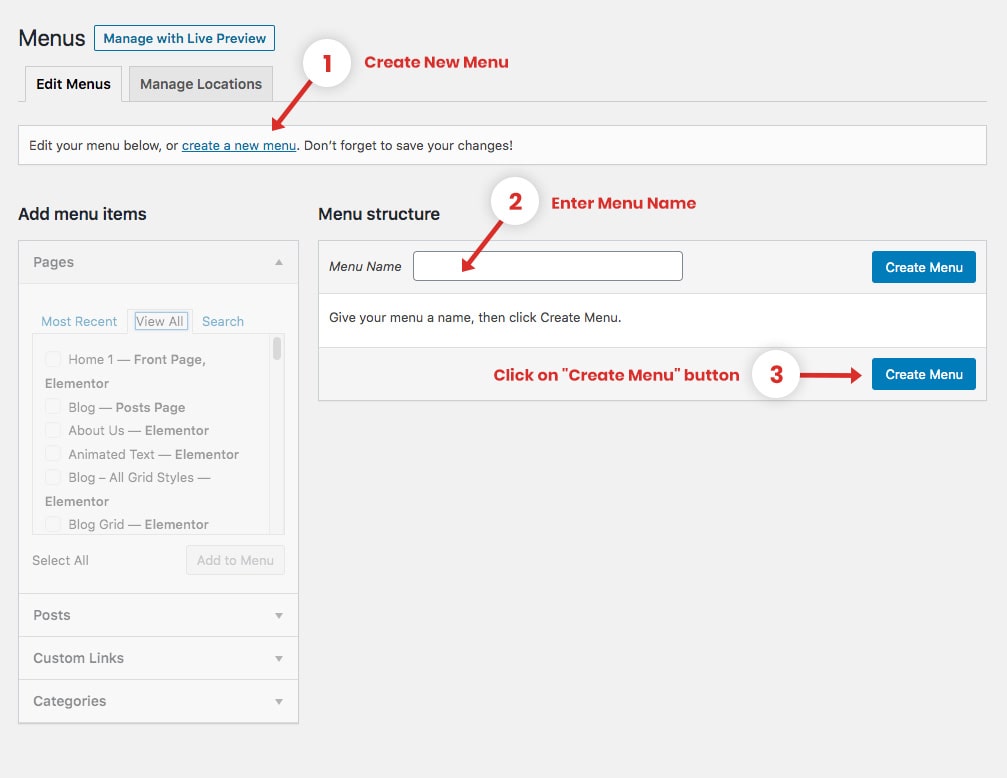
Create New Menu
- Navigate to Dashboard > Appearance > Menus section of your admin sidebar.
- Click the Create A New Menu link to make a new menu.
- Enter the name then click the Create Menu button.
- To add a menu item, select one of your created pages on the left-hand side and click the Add to Menu button. You can also add all kinds of different posts from the left side.
- Manage your menus by using the drag and drop functionality. To create a drop-down menu, simply drag a menu item below and slightly to the right of another menu item, and it will lock into place and create a drop-down section.
- After setting up your menu, scroll down to the bottom of the page (Menu Settings) to assign the menu to one of the 4 locations in the Theme Locations box (Main Navigation, Topbar Left, Topbar Right, Footer Menu). You can also choose to add automatically new top-level pages to this menu.
- Once it's all done, make sure you click the Save Menu button.

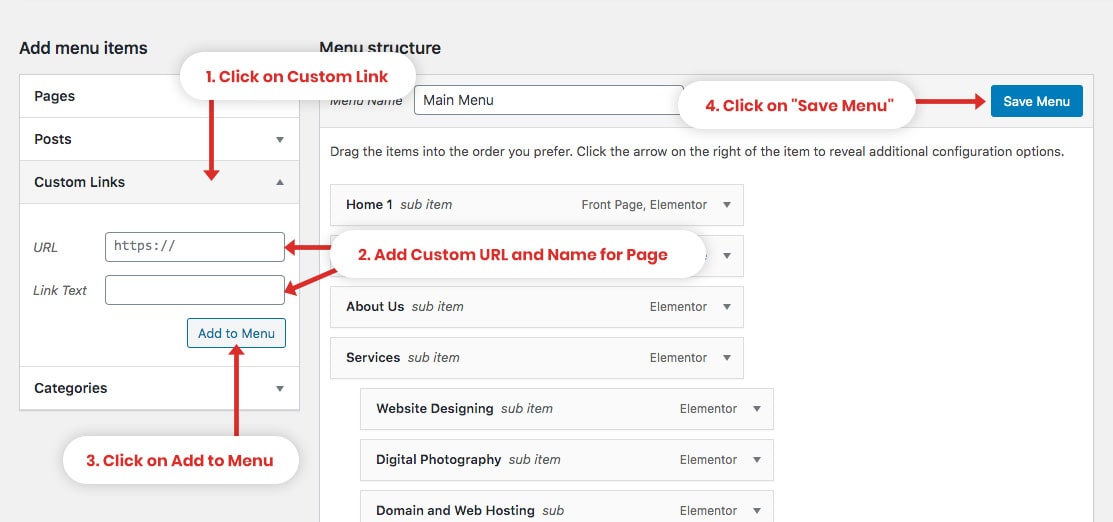
Add Custom Link
To add a custom link, do the following:
- Click on the Custom Links panel.
- In the URL box, type in or paste the URL of the page you want the link to take your visitor.
- In the Link Text box, type the words you want to appear on the menu for the link.
- Click "Add to Menu" and then click "Save Menu"
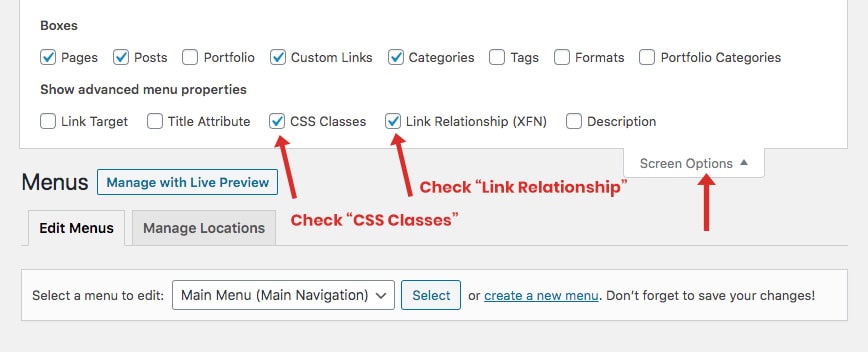
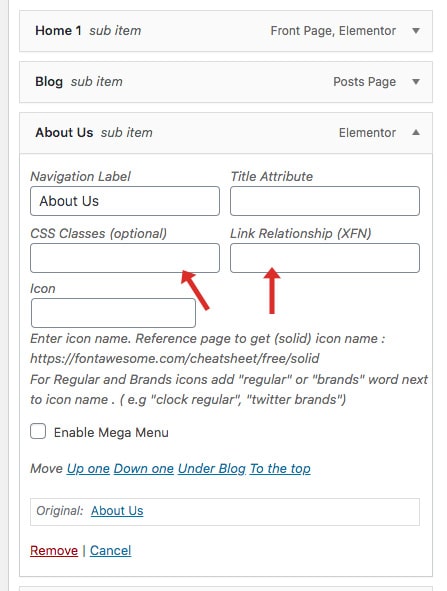
Enable CSS Class and Link Relationship
- From your Menu editor, scroll to the top of your page to click the “Screen Options”.
- A drop down of options will appear. Find the CSS Classes box and Link Relationship checkbox, click them to enable it.